Don't miss out on any of the A-mazing Giveaways going on right now for the
300 Followers Celebration!
If you have little girls then you probably have {naked} babies laying around your house.
Scandalous!
My girls all love playing with their baby dolls
and love changing the clothes
and love coming to me to help change their clothes
and love leaving them in the floor half-dressed!
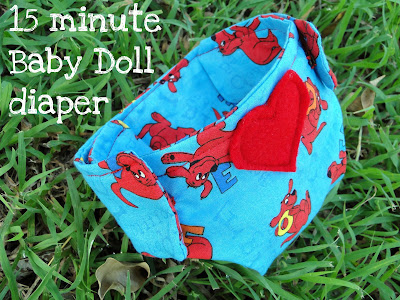
The inspiration lightening bolt hit me a few weeks ago and I came up with these.
My girls love them and say I'm the "coolest mommy in the world". {contented sigh}
DISCLAIMER: If I've said it once I've said it 50 times, "I'm not a seamstress."
I don't claim to be. This worked for me.
Take it or leave it...{small shrug, big smile}.
1. I found a real diaper that was left over from when my baby was... {sniff}...teeny tiny, laid it on a regular sheet of construction paper
2. marked around it with a pencil
3. folded the paper in half longways before cutting....this insured the sides were the same
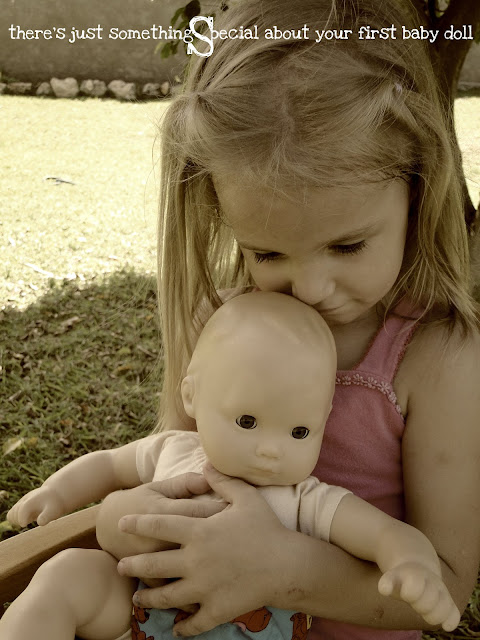
4. tried the paper diaper on the very willing little model
5. as usual I had to trim and resize and trim some more till it was perfect
6. after the leg holes were nice, I trimmed the top of the diaper to make me happy
7. pinned the finished "pattern" on
8. dealt with my little helper....according to her "anything on the floor is fair game"
9. laid the pattern on my material (material was doubled) you need 2 pieces cut
10. left some edging around the pattern for seam allowance....I know I kinda forgot on the top!11. cut 2 layers of that "rough liner stuff". A real seamstress would know the actual name of it AND how to use it. Someone gave it to me, it looked kinda... well, old. I wasn't sure if I was supposed to iron it on, so I tried that. Didn't iron on so I just cut 2 layers to make my project stiffer. I'm very happy with the effect...but I'm easy to please.
BACK to #11. made sure that my layers were correct. 2 layers of material (IMPORTANT: front side of material facing each other!) then my layers of "stiff stuff".
12. sewed around leaving the necessary allowance
13. didn't forget to leave an opening to flip it all right side out
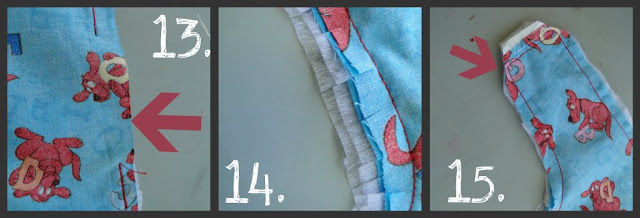
14. I notched the material around the leg curves
15. I trimmed the material around the bands so they'd lay nice when turned right side out
16. I considered putting buttons on it....but me making a button hole is a joke. So I decided that the little princesses needed to practice her snaps. Snaps worked lovely.
17. I ironed it flat then I ran a quick flat stitch across the front and back band to help it keep laying smooth
18. I sewed a little felt heart on to make it special {sweetness}

count your blessings
#16 putting up fall decorations
#17 homemade cheesie sticks
#18 hearing my little princess read


10 comments:
Cute! I should give it a try. COngrats on your blog's success! You do a great job with it!
Very Neat. I LOVE how you explain how to make it. I've been working on baby shoes for several days and cannot figure out the blogger's simple instructions LOL. I wish she used the easy to understand terms like you! :-)
Love it!! The "babies" in our house have been out of diapers for weeks!! I know this will make the "little mommy" of our house happy!
found your blog and love looking through it! I'm an mk... so I know what it's like to grow up far from "home"! You're little girls are blessed.
Sooooooo adorable!
Just what I need to make!! Thank you for sharing. Now if you can tell me how to get her to keep them on the baby dolls! (I found you on Just Something I Whipped Up.)
This looks great!! I'll have to get my older girls to make some for the younger one.
Cindy
I'm curious about your "count your blessings" #17 cheesie sticks??? Do you have a recipe you can share?
So cute, Maria! Love it, my friend, and pinned it to my "pinterest" wall.
Ahhh, this is so adorable...Can't wait to have a princess to make this kind of stuff for ;)
Post a Comment