Here is just a little quick post about how I edit pictures. Surprising to me, I get lots of comments and questions about my pictures and I wanted to give y'all a little peek at some tricks I've learned. So many of my friends take much better pictures then me and I can look at them for hours! But....you asked...so here you go.
We have a Mac laptop and I used to edit all my pictures using the iphoto on it.
Then I stumbled on
PHOTOBUCKET. I like them because after you edit your pictures they "encode" them...if that's the correct wording. That way you can easily click on the "direct link" code and copy it on your blog or facebook. I DON'T like the ucky advertisements on PHOTOBUCKET and that can be a turn off. They do have the cool option of making your pictures have a "color splash". That's the pictures you've seen that are black and white with one thing in the picture colored. I also like their "old photo" in their effects.
The one I recommend is this one.
I started using
PICNIK. They have a nicer "atmosphere". Currently I'm in love with this free edition site and run my favorite pictures through them. This is where I made my blog header.
After editing here you can click on the "save and share" button. It gives the option of moving it to your PHOTOBUCKET album and then you can get your "code". Or you can just save them to your computer.
Example #1 {original of Eden in the Garden}
After uploading it I ALWAYS first click "auto fix".
If you don't like the quick fix just click undo
in the top right hand corner.
Under Effects clicked on "Cross Process"
Played with "bloom" and "brightness"
Under frames clicked "rounded edges" (I LOVE this feature!)
{nice and glowing Garden fairy}
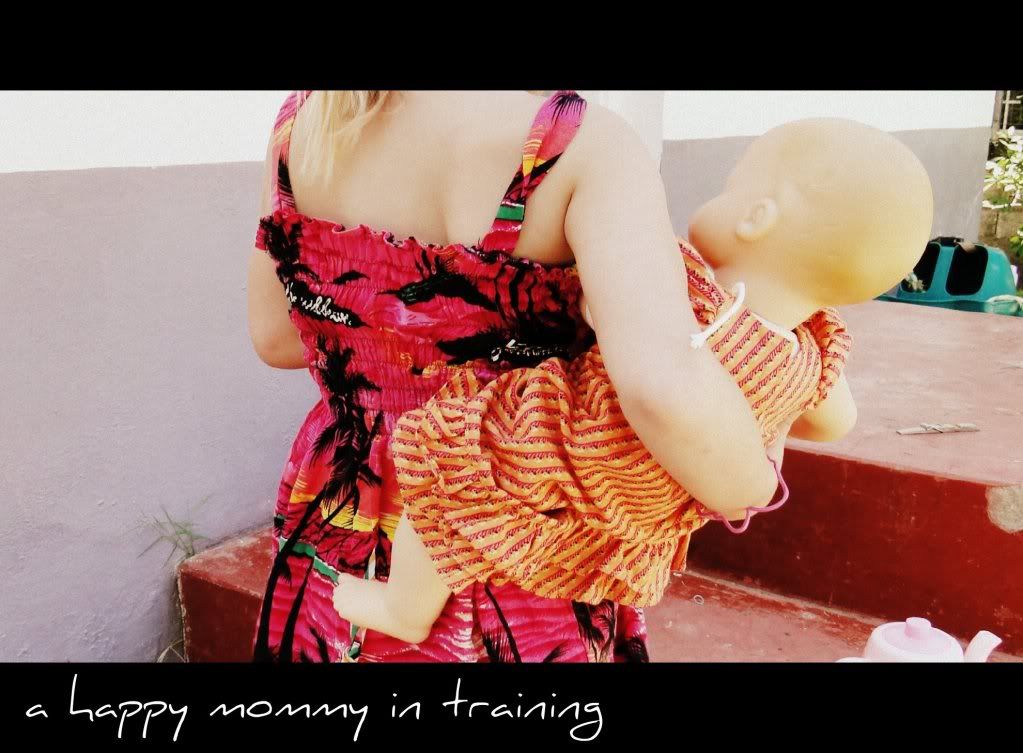
Example #2 {original picture of Eden and Baby}
Clicked the "Create" tab, then I clicked "Effects"
I settled on the "CinemaScope" look.
Then I added some words by clicking "text'.
TaDaaaa............
Example #3 {Brynlee's little lip}
auto-fix
Under effects clicked on "black and white"
Under frames clicked "rounded edges"
(don't forget to check transparent)
This one was simple but really sweet looking.
Example #4 {Princess Brynlee}
Auto fix
Under effects clicked on "Holga-ish"
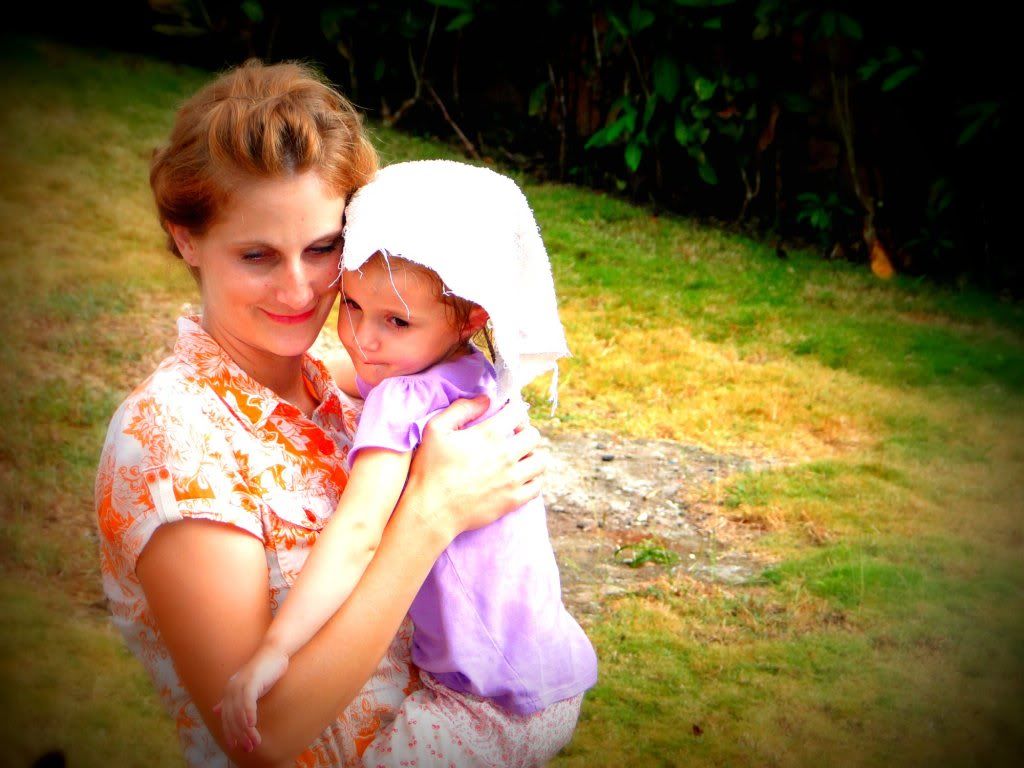
Example #5 {mommy and Eden}
Auto-fix
Under Effects clicked "Lomo-ish"
Tips:
Don't pose them...just snap pictures.
Stand where you would normally stand when taking a picture...
then take 2 steps closer "click"
or
take 2 steps to the side then "click"
Morning and Evening is the best time
for pretty lighting in your pictures.